Introduction
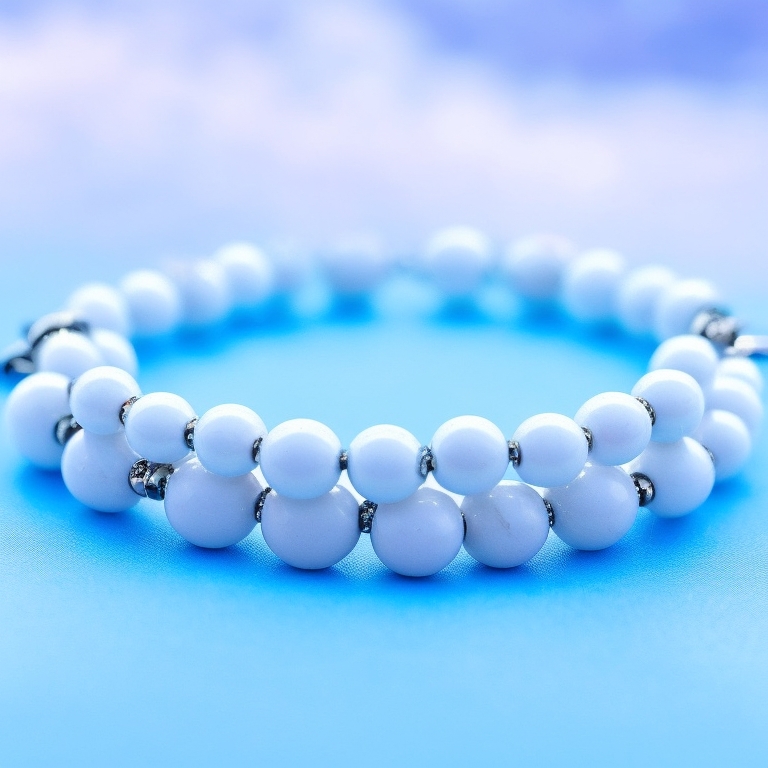
Crafting a double beaded bracelet can be an enjoyable and rewarding experience. Whether you’re a beginner or have some beading experience, creating these beautiful accessories allows you to express your creativity. In this guide, we’ll take you through each step, from gathering necessary tools and materials to implementing advanced customization techniques. By the end, you’ll have the skills needed to make stunning double beaded bracelets for yourself or as thoughtful handmade gifts for others.

Tools and Materials Needed
Before we start crafting, let’s gather the essential tools and materials. Having everything at hand will streamline the process and make your bracelet-making experience smoother. Here’s a list of what you’ll need:
- Beading Thread: Opt for a strong, flexible beading thread such as nylon or polyester.
- Beads: Choose your beads. Seed beads, glass beads, or gemstones can add unique touches to your bracelet.
- Needle: A fine beading needle will help you thread the beads with ease.
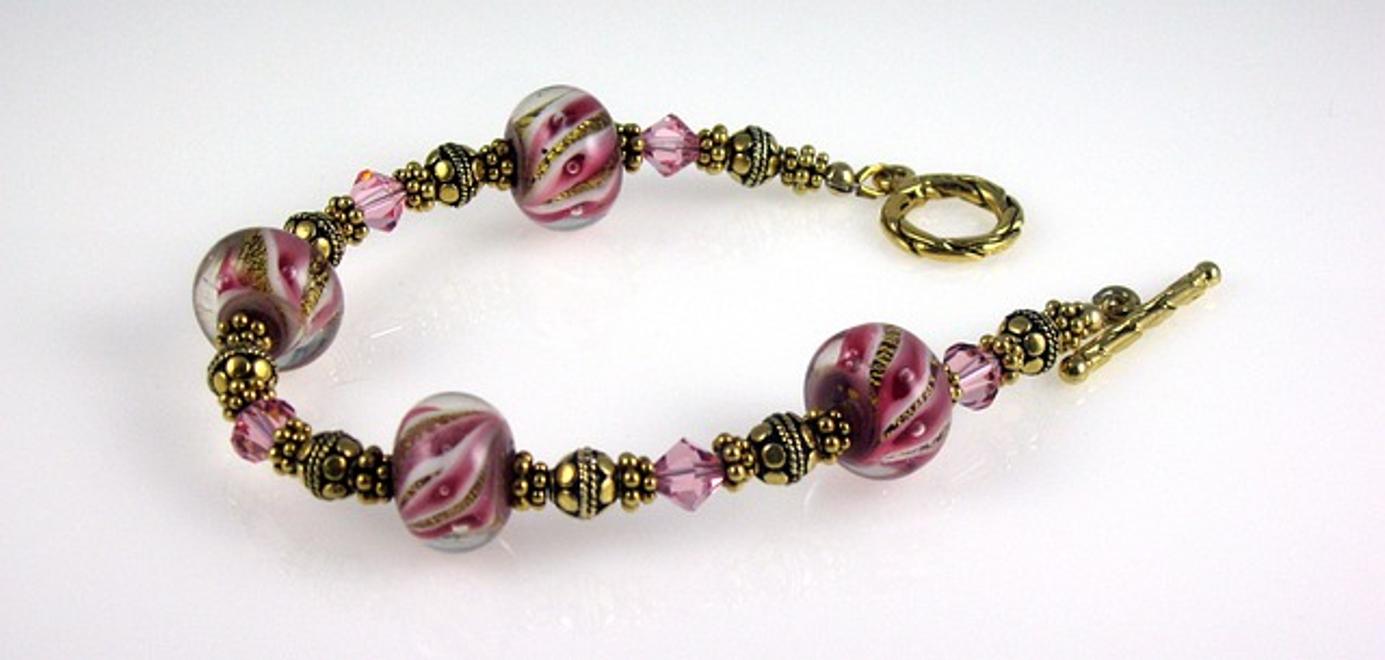
- Clasp: Decide on a suitable clasp to secure your bracelet – a lobster clasp or a toggle clasp works well.
- Scissors: Ensure they are sharp to cut thread precisely.
- Bead Mat: This will prevent your beads from rolling away and keep them organized.
With these tools and materials ready, you’re set to create your double beaded bracelet.
Setting Up Your Workspace
A well-prepared workspace can make crafting much easier. Choose a clean, well-lit area where you can spread out your materials. Arrange your tools and beads on your bead mat to avoid losing any small pieces. Ensure your chair is comfortable and offers good back support since you might be sitting for a while. This setup helps to maintain organization and efficiency throughout your bracelet-making process.
Starting Your First Row
Creating the foundation of your bracelet is vital. Follow these steps to start your first row:
- Thread the Needle: Cut a length of beading thread, approximately 2-3 feet long, and thread your needle. Knot the end of the thread securely.
- Add the First Bead: Pick up one bead and slide it down to the knot. This bead acts as a stopper, preventing other beads from slipping off.
- String More Beads: Continue adding beads until you reach your desired bracelet length, keeping in mind that the clasp will add extra length.
- Secure the Row: Once satisfied with the length, pass the needle through the first bead again to create a loop. This strengthens the row and keeps the beads in place.
With the first row complete, your bracelet is starting to take shape.

Adding the Second Row
Adding the second row is crucial for achieving the double beaded effect:
- Start the Second Row: Pick up your needle and thread, and weave back through the first row, adding a new bead between each of the existing beads.
- Reinforce the Design: For a more secure bracelet, loop through the second row a few times, making sure each bead is snug and aligned with its corresponding bead in the first row.
- Adjust Tension: Be mindful of the tension – too tight, and the bracelet will be stiff; too loose, and it will lack structure.
You’ll see your bracelet developing a fuller and more intricate appearance after adding the second row.

Securing the Ends
Securing the ends ensures that your bracelet will last and not come apart:
- Add the Clasp: Attach the clasp to the end of the bracelet by threading through the clasp ring and making several knots to secure it.
- Reinforce the Ends: Weave through the last few beads several times to reinforce the structure.
- Trim the Thread: Carefully cut off any excess thread, ensuring the ends are neat and not unsightly.
Properly securing the ends guarantees a durable and professional-looking bracelet.
Customizing Your Bracelet
Customization can turn a simple bracelet into something uniquely yours. Here are a few ideas:
- Color Patterns: Experiment with different color combinations for an eye-catching design.
- Bead Sizes: Mix various sizes of beads to add texture and dimension.
- Charms and Pendants: Incorporate small decorative elements for added flair.
- Personalized Beads: Add letter beads to spell out names or significant words.
Your creativity is the only limit. Personalizing your bracelet makes it special and tailored to your style.
Troubleshooting Common Issues
Even with careful crafting, issues can arise. Here’s how to troubleshoot common problems:
- Loose Beads: If your beads are too loose, try re-tightening the thread by weaving back through the beads.
- Broken Thread: Should the thread break, carefully backtrack to a secure point, tie a knot, and continue beading.
- Misthreaded Beads: If you misthread a bead, gently pull out the needle and thread, remove the mistaken bead, and re-thread correctly.
Being prepared for these issues ensures a smoother crafting experience.
Conclusion
Creating a double beaded bracelet is a satisfying way to express your artistic skills. By following these steps and using your creativity, you can craft a beautiful piece of jewelry. Whether for yourself or as a gift, these bracelets are sure to impress.
Happy beading!
Frequently Asked Questions
What type of thread is best for beading?
Choosing the right thread is crucial. Nylon and polyester threads are strong, flexible, and less likely to fray, making them ideal choices for beading projects.
How do I fix a mistake while beading?
If you make a mistake, carefully unthread the beads back to the error point. Correct the mistake by threading the beads correctly and continue your project.
Can I use different-sized beads for double beaded bracelets?
Yes, using different-sized beads can add an interesting and unique texture to your bracelet. Just ensure that the sizes complement each other for a cohesive look.
