Introduction
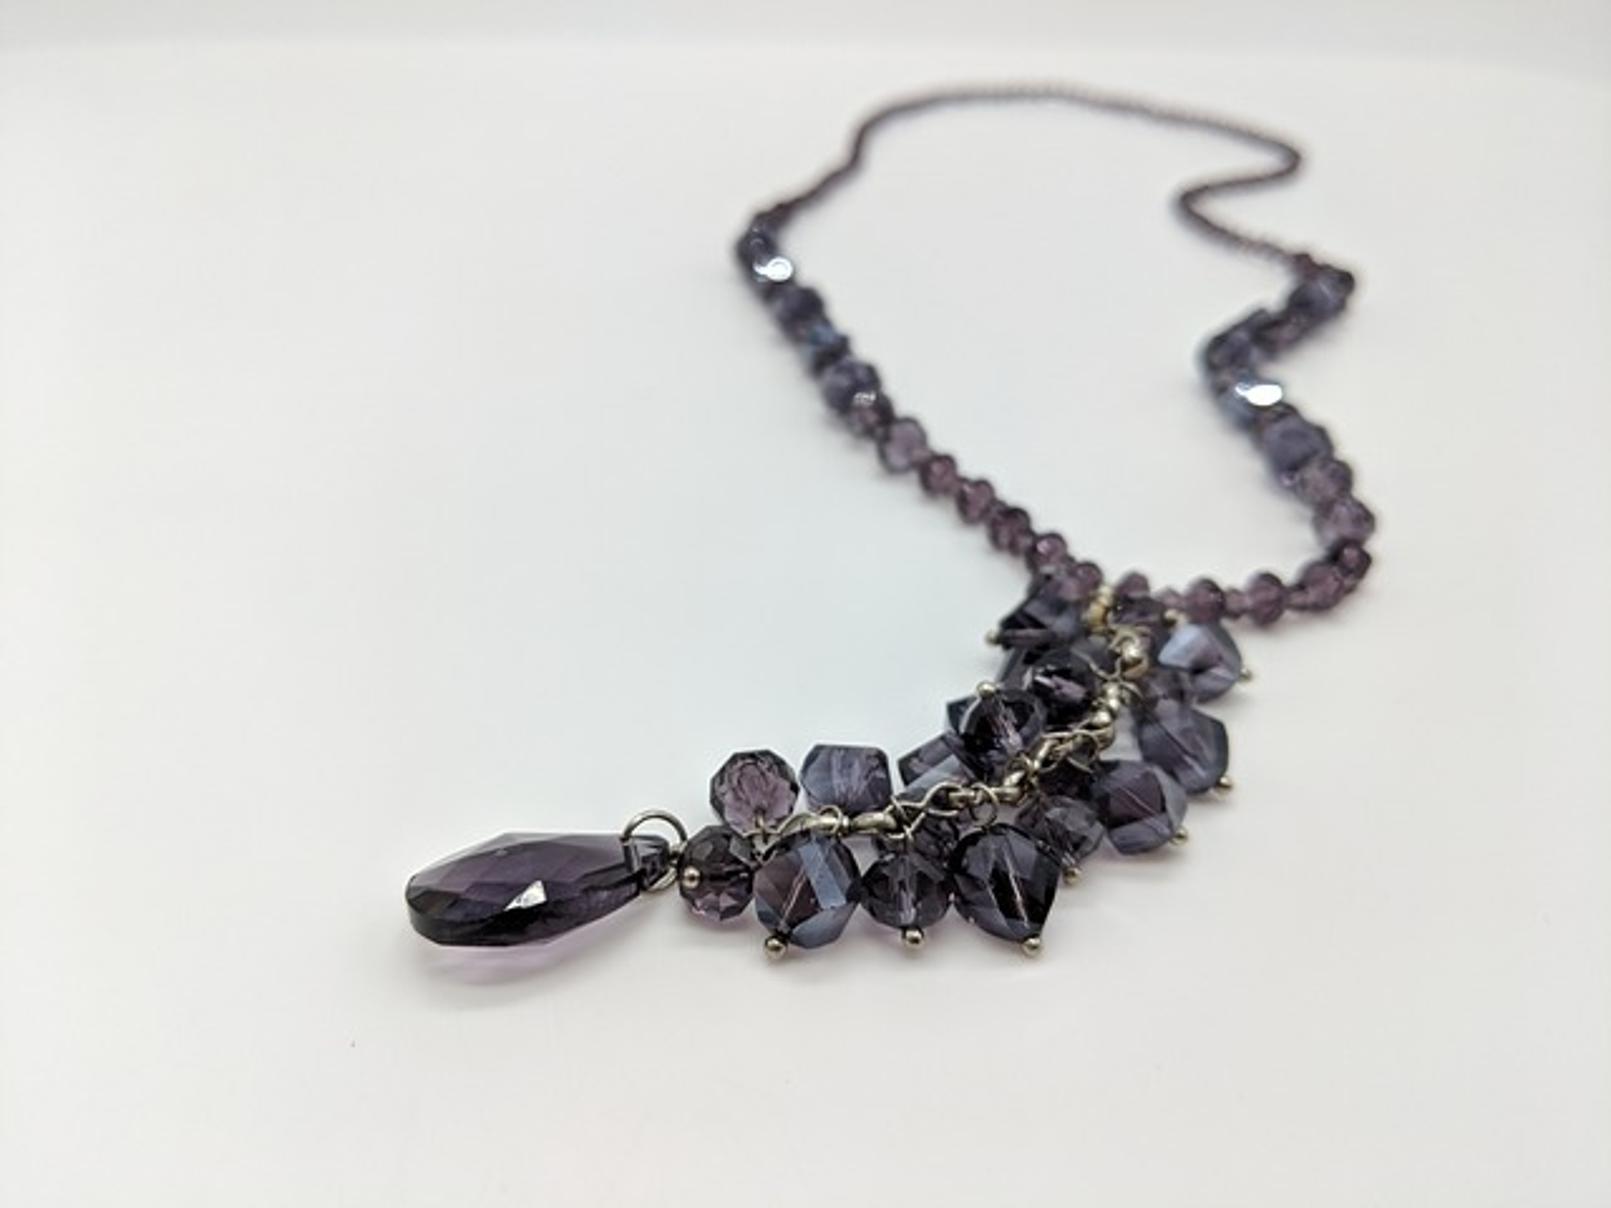
Are you looking to create a stylish and unique accessory? Making a beaded lariat necklace is a fulfilling and creative project. Unlike traditional necklaces, lariat necklaces do not have a clasp, making them versatile and fashionable. Whether you’re crafting a gift or something special for yourself, this guide will walk you through each step, ensuring your project is a success. You’ll learn about the materials you need, how to design your necklace, and essential tips for assembling a beautiful piece of jewelry. Get ready to unleash your inner artisan and create a stunning beaded lariat necklace that’s sure to impress!

Materials Needed
Before you start crafting your beaded lariat necklace, gather all the necessary materials. Having everything ready will streamline the process and make it more enjoyable. Here’s what you’ll need:
- Beads: These can be glass, crystal, stone, or acrylic, depending on your style preference.
- Beading wire or string: Opt for a durable and flexible wire or string designed for jewelry making.
- Bead stoppers: To prevent beads from falling off while you string them.
- Crimp beads: Essential for securing the ends of your wire or string.
- Jump rings: Small open rings used to attach clasps or other components.
- Clasps and findings: Though not always necessary for lariats, these can add a polished touch.
- Pliers and wire cutters: Necessary tools for cutting wire and securing crimps.
- A bead board: Helps plan and design your necklace layout.
Having these materials organized and accessible will make the creation process smooth and enjoyable.

Step-by-Step Guide
Designing Your Lariat Necklace
Start by sketching your design. Consider the length of the necklace and the pattern you want for the beads. Lariats are usually long enough to be wrapped or tied in various ways. Decide on a color scheme and layout your beads on a bead board according to your design.
Preparing Your Beads and Tools
Once your design is ready, it’s time to prepare your beads and tools:
- Organize Your Beads: Separate your beads by color, size, and type to make the stringing process easier.
- Measure Your Beading Wire or String: Cut your beading wire or string to the desired length, adding a few extra inches to accommodate any adjustments.
- Attach a Bead Stopper: Attach a bead stopper to one end of your wire or string to prevent beads from slipping off. This will save you from the frustration of re-stringing.
Stringing Your Beads
Now that your materials are ready, you can start stringing your beads:
- Start Stringing Beads: Following the pattern you laid out on your bead board, start stringing your beads onto the wire or string.
- Check the Pattern Regularly: Every few beads, double-check your pattern to ensure you haven’t made any mistakes.
- Continue Stringing: Continue until all your beads are on the wire, leaving a few inches at each end for finishing.
Adding Clasps and Findings
While many lariat necklaces don’t require clasps, adding them can give a more professional look:
- Attach the First Clasp: Slide a crimp bead onto the end of the wire, followed by a clasp. Loop the wire back through the crimp bead, then use pliers to flatten it and secure the clasp.
- Attach the Second Clasp: Repeat the process at the other end if you’re adding a second clasp.
- Trim Excess Wire: Use wire cutters to trim any excess wire for a clean finish.

Finishing Touches
Once your necklace is assembled, take a moment to inspect it. Ensure all beads are securely strung and that all crimps and clasps are tightly fastened. You might want to add a charm or additional decorative elements at the ends of the lariat for an extra special touch. A small drop of jewelry glue on the crimps can ensure long-lasting durability.
Care and Maintenance Tips
To keep your beaded lariat necklace looking its best, follow these care and maintenance tips:
- Store Properly: Keep your necklace in a soft jewelry pouch or box to avoid tangling and scratching.
- Clean Gently: Use a soft cloth to wipe the beads after wearing to remove any oils or dirt. Avoid using harsh chemicals.
- Avoid Water: Keep your necklace away from water, as moisture can damage certain types of beads and weaken the string or wire.
- Handle with Care: Be gentle when putting on or taking off your necklace to prevent breakage.
By following these simple tips, your necklace will stay beautiful and last for many years.
Conclusion
Creating a beaded lariat necklace is not only an enjoyable craft but also a way to express your personal style. By following this guide, you’ll be able to design and assemble a stunning accessory that you can proudly wear or gift. Remember to take your time and enjoy each step of the process, from designing to the final touches.
Frequently Asked Questions
How long does it take to make a beaded lariat necklace?
The time required can vary, but it typically takes a few hours from start to finish.
What type of beads are best for making a lariat necklace?
Glass, crystal, and stone beads are popular choices for their durability and beauty.
Can beginners make a beaded lariat necklace?
Absolutely! This project is perfect for beginners with basic jewelry-making tools and materials.
